> ## Documentation Index
> Fetch the complete documentation index at: https://ai-development-environment.mintlify.site/llms.txt
> Use this file to discover all available pages before exploring further.
# Quickstart
> Install the control plane, enroll an agent, and open the dashboard.
There are four ways to install AI Development Environment. Pick one, then enroll a control agent so the dashboard has a machine to work with.
| Method | Best for | Default port | Default credential storage |
| ------------------------------------ | ------------------------------------------- | ------------ | -------------------------- |
| [Homebrew](#option-1-homebrew-macos) | macOS, run as a background service | `3090` | macOS Keychain |
| [npm](#option-2-npm) | Any platform, prebuilt standalone build | `3090` | Database |
| [Docker](#option-3-docker) | Containerized control plane and Linux agent | `3090` | Database |
| [From source](#option-4-from-source) | Developing the app itself | `3000` | Database |
## Prerequisites
* macOS for iOS builds, signing, Xcode build data, and Keychain credential storage. The Linux container agent supports portable development jobs.
* Node.js 24.16 or newer in the Node 24 line, for the npm and source installs.
* Homebrew, for the Homebrew install.
* Docker, for the container install.
* Xcode and its command line tools, if you plan to run iOS builds.
Every production install needs one stable Better Auth secret and the origin you use to open it. Generate the secret once, store it outside source control, and keep it across upgrades:
```bash theme={null}
openssl rand -base64 32
```
The examples below use password authentication. See [Authentication](/reference/authentication) to use OAuth/OIDC instead or alongside it.
## Option 1: Homebrew (macOS)
```bash theme={null}
brew tap bludesign/ai-development-environment
brew install ai-development-environment
```
The service applies pending database migrations on start and listens on `http://127.0.0.1:3090`, with agent GraphQL WebSockets on `ws://127.0.0.1:3091/graphql`. The formula is maintained in [`bludesign/homebrew-ai-development-environment`](https://github.com/bludesign/homebrew-ai-development-environment).
The SQLite database is stored under Homebrew's `var/ai-development-environment/`, logs are in `$(brew --prefix)/var/log/`, and every setting — including the credential and Vault variables — lives in the owner-only file:
```bash theme={null}
$(brew --prefix)/etc/ai-development-environment.env
```
The service generates `APP_SECRET` into that file on first start and defaults `APP_ORIGINS` to `localhost:3090,127.0.0.1:3090`, so nothing else is required. Add `AUTH_MODE=password` to the file if you want the mode written down explicitly. Then start the service:
```bash theme={null}
brew services start ai-development-environment
```
Restart with `brew services restart ai-development-environment` after editing it.
Back up the generated `APP_SECRET`. It signs sessions and encrypts stored credentials; replacing it without listing the old value in `APP_SECRET_PREVIOUS` makes stored credentials unreadable.
To reach this install by any other hostname, add it to `APP_ORIGINS` in the same file.
Run Homebrew services without `sudo`. A root service uses a different or
unavailable Keychain and can trigger authorization problems.
## Option 2: npm
```bash theme={null}
npm install -g @ai-development-environment/server @ai-development-environment/control-agent
```
[`@ai-development-environment/server`](https://www.npmjs.com/package/@ai-development-environment/server) is a prebuilt standalone build; [`@ai-development-environment/control-agent`](https://www.npmjs.com/package/@ai-development-environment/control-agent) is the agent.
```bash theme={null}
APP_SECRET="$(openssl rand -base64 32)" \
APP_ORIGINS="localhost:3090,127.0.0.1:3090" \
ai-development-environment
```
The command applies pending migrations, then serves `http://127.0.0.1:3090` with agent GraphQL WebSockets on `ws://127.0.0.1:3091/graphql`. Its SQLite database is stored at `~/.ai-development-environment/production.db`.
The npm packages track the repository's `vX.Y.Z` release tags — the `publish-npm` job in `.github/workflows/release.yml` publishes both via npm trusted publishing on every release. They accept the same server and credential variables as the Homebrew service, but default to database credential storage on every platform.
## Option 3: Docker
The production release publishes separate control-plane and Linux-agent images to GitHub Container Registry:
```text theme={null}
ghcr.io/bludesign/ai-development-environment:latest
ghcr.io/bludesign/ai-development-environment-control-agent:latest
```
Start the control plane with persistent database storage:
```bash theme={null}
docker run --detach \
--name ai-development-environment \
--restart unless-stopped \
--publish 3090:3090 \
--publish 3091:3091 \
--env APP_SECRET="replace-with-openssl-rand-base64-32" \
--env APP_ORIGINS="localhost:3090" \
--volume ai-development-environment-data:/data \
ghcr.io/bludesign/ai-development-environment:latest
```
The server applies pending migrations, listens on both container ports, and stores SQLite state beneath `/data`. The agent is a separate image and opens no listening port.
See [Docker](/reference/docker) for the complete Docker Compose deployment, one-time agent enrollment, persistent AI-provider credentials, and repository or external-disk mounts.
## Option 4: From source
```bash theme={null}
git clone https://github.com/bludesign/ai-development-environment.git
cd ai-development-environment
npm ci
```
Copy the example environment file and adjust `DATABASE_URL` if you want the SQLite file somewhere other than `prisma/dev.db`. Only `file:` URLs are accepted. Set `APP_SECRET` to the output of `openssl rand -base64 32`; it is required in development too. Localhost is trusted automatically, so `APP_ORIGINS` is only needed if you reach the dev server by another hostname.
```bash theme={null}
cp .env.example .env
```
```bash theme={null}
npm run dev:all
```
This starts Next.js on `http://127.0.0.1:3000` plus a watch-mode local agent on WebSocket port `3092`, leaving ports `3090` and `3091` free for an installed Homebrew service. The agent reuses its identity from `~/.config/control-agent-dev/config.json`.
On the first run, start `npm run dev` alone, create your user, and create an enrollment token on **Agents**. Stop the server, then enroll the development agent:
```bash theme={null}
CONTROL_AGENT_DEV_ENROLLMENT_TOKEN="enroll_one-time-token" npm run dev:all
```
The token is used only for the first enrollment. Later `npm run dev:all` runs reuse the saved `agent_` credential.
Other useful commands:
* `npm run dev` starts only the development server.
* `npm run build` creates a deployable standalone build, and `npm run start` runs it.
* `npm run generate` regenerates the Prisma client, bundled GraphQL SDL, and resolver types.
* `npm run db:migrate` creates and applies a development migration, `npm run db:deploy` applies committed ones, and `npm run db:studio` opens Prisma Studio.
* `npm run full-check` formats and fixes the project before checking it.
See [Local development](/reference/development) for the full command list, port overrides, and the screenshot pipeline.
## Create the first user
Open the server in a browser. An empty installation sends you to the setup registration page. Create the first account; the server atomically closes self-registration after the account succeeds.
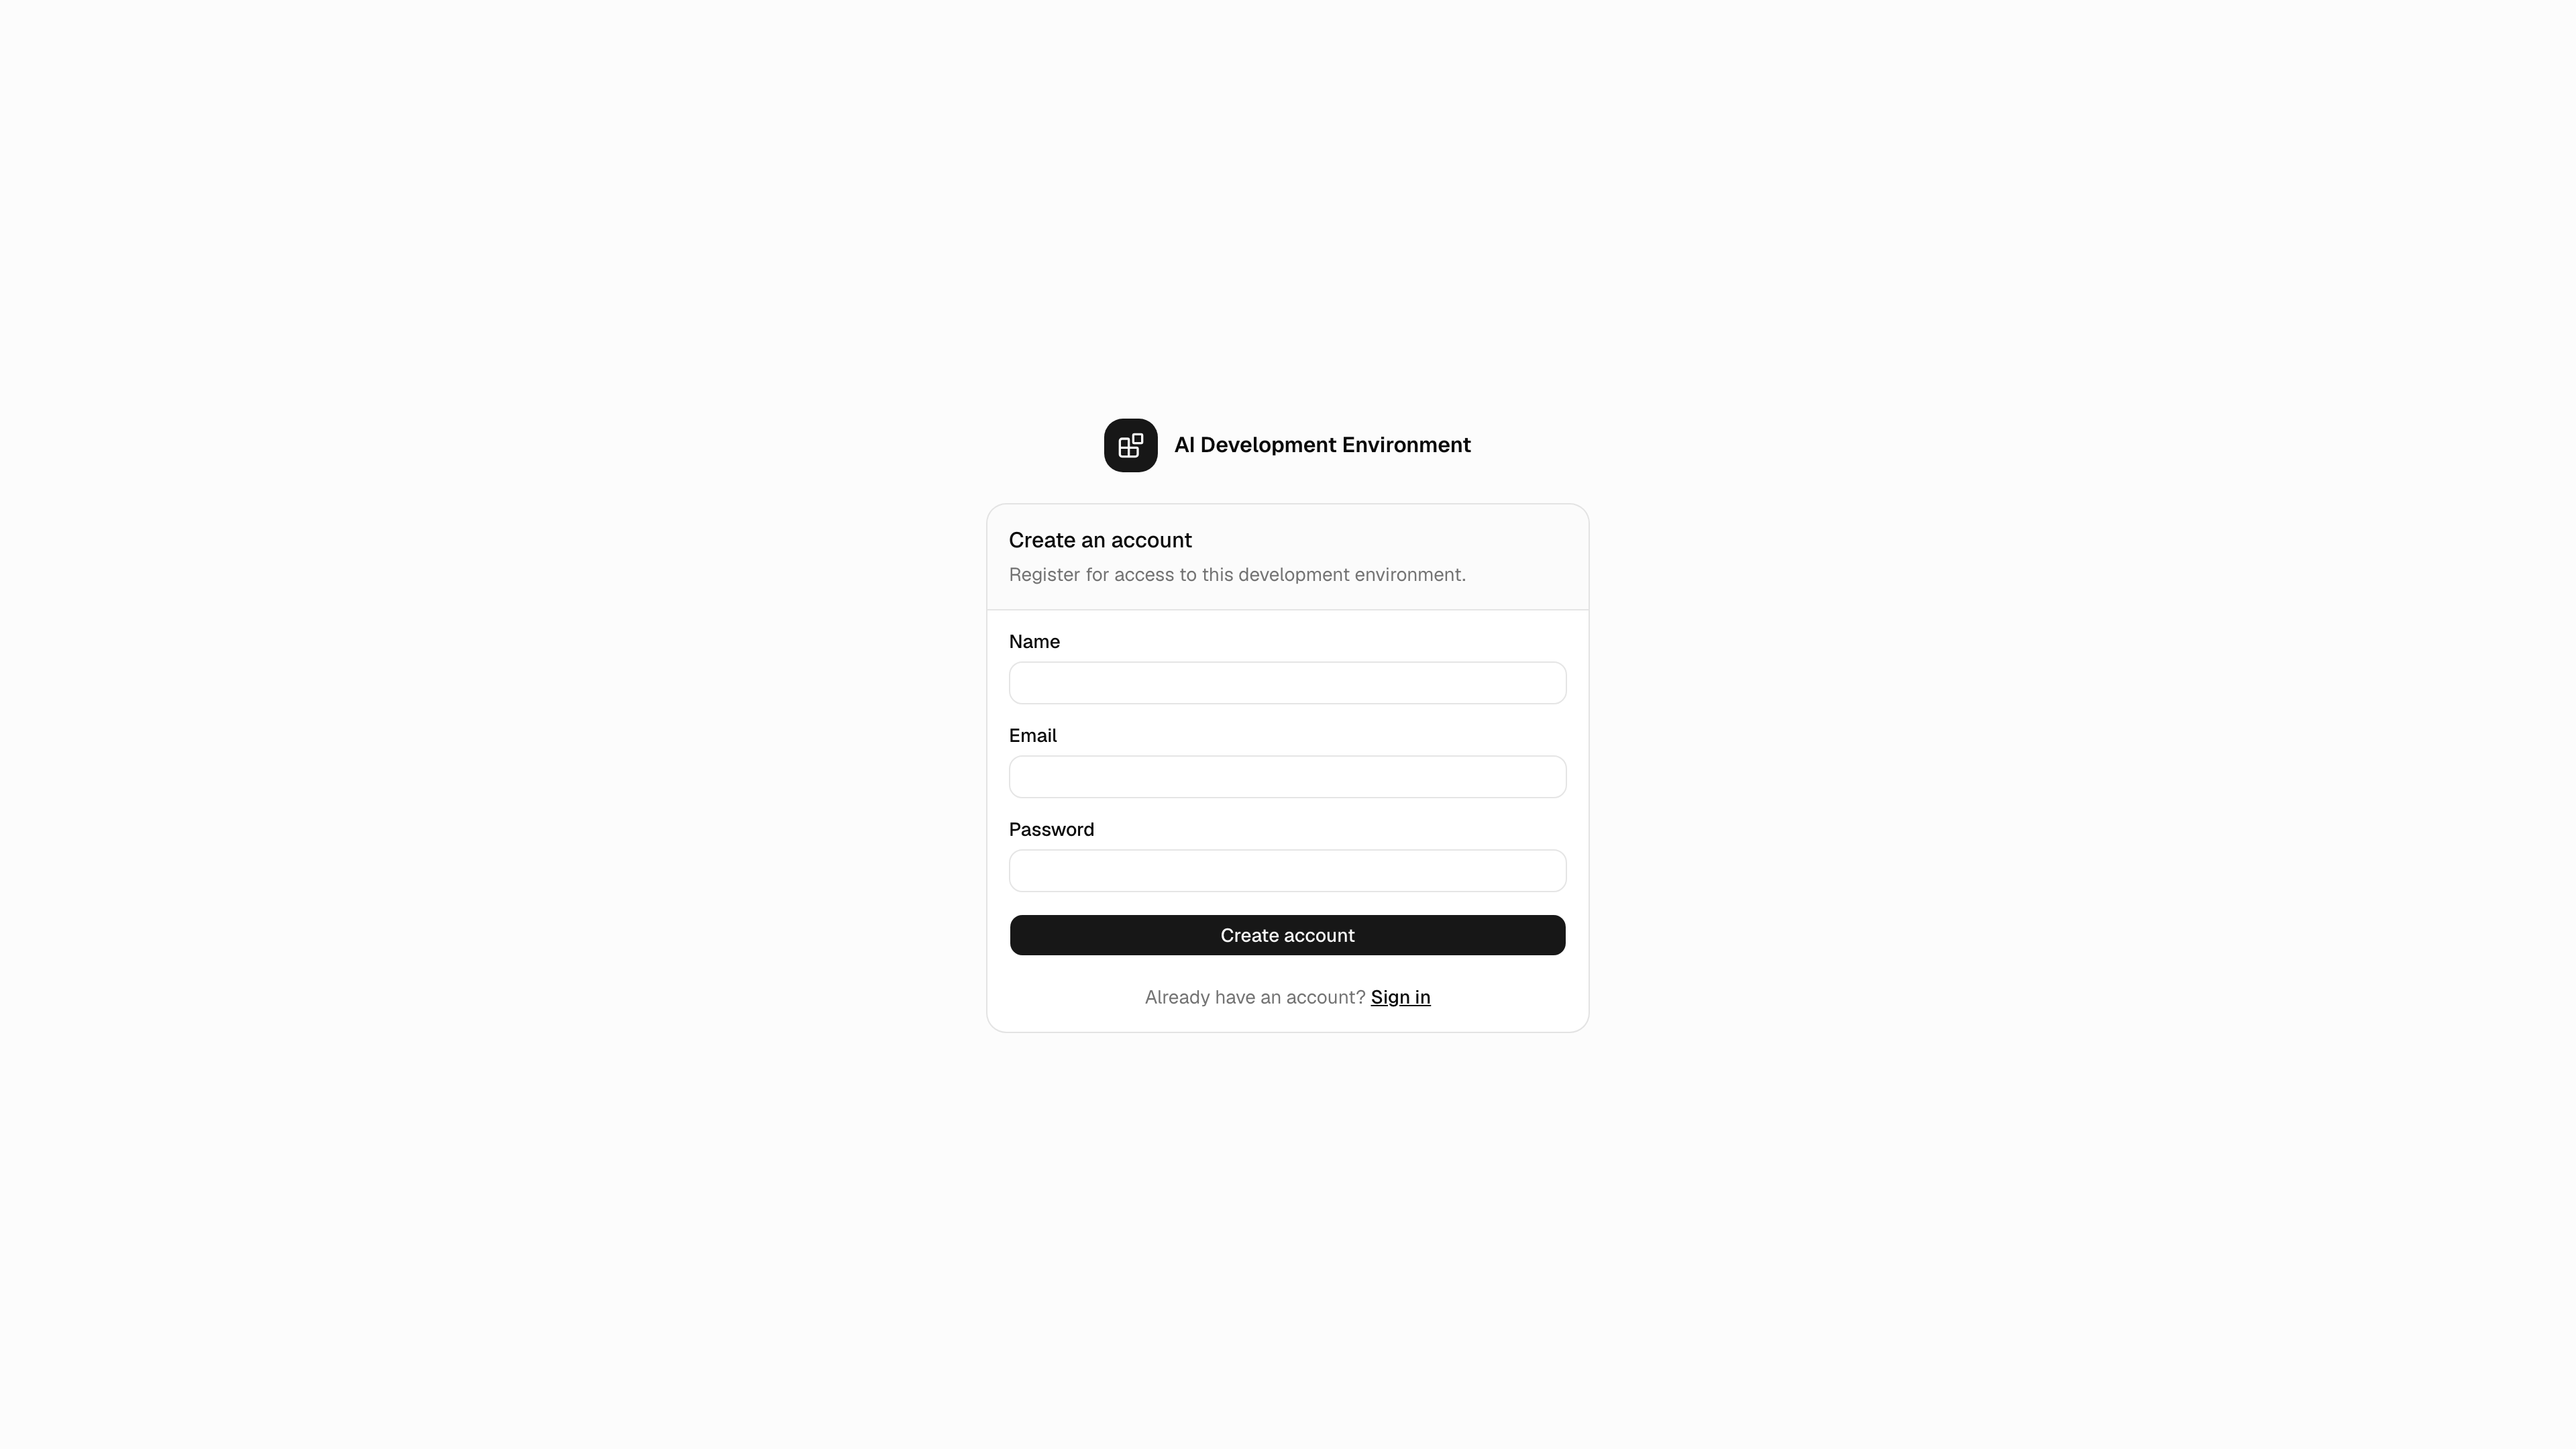
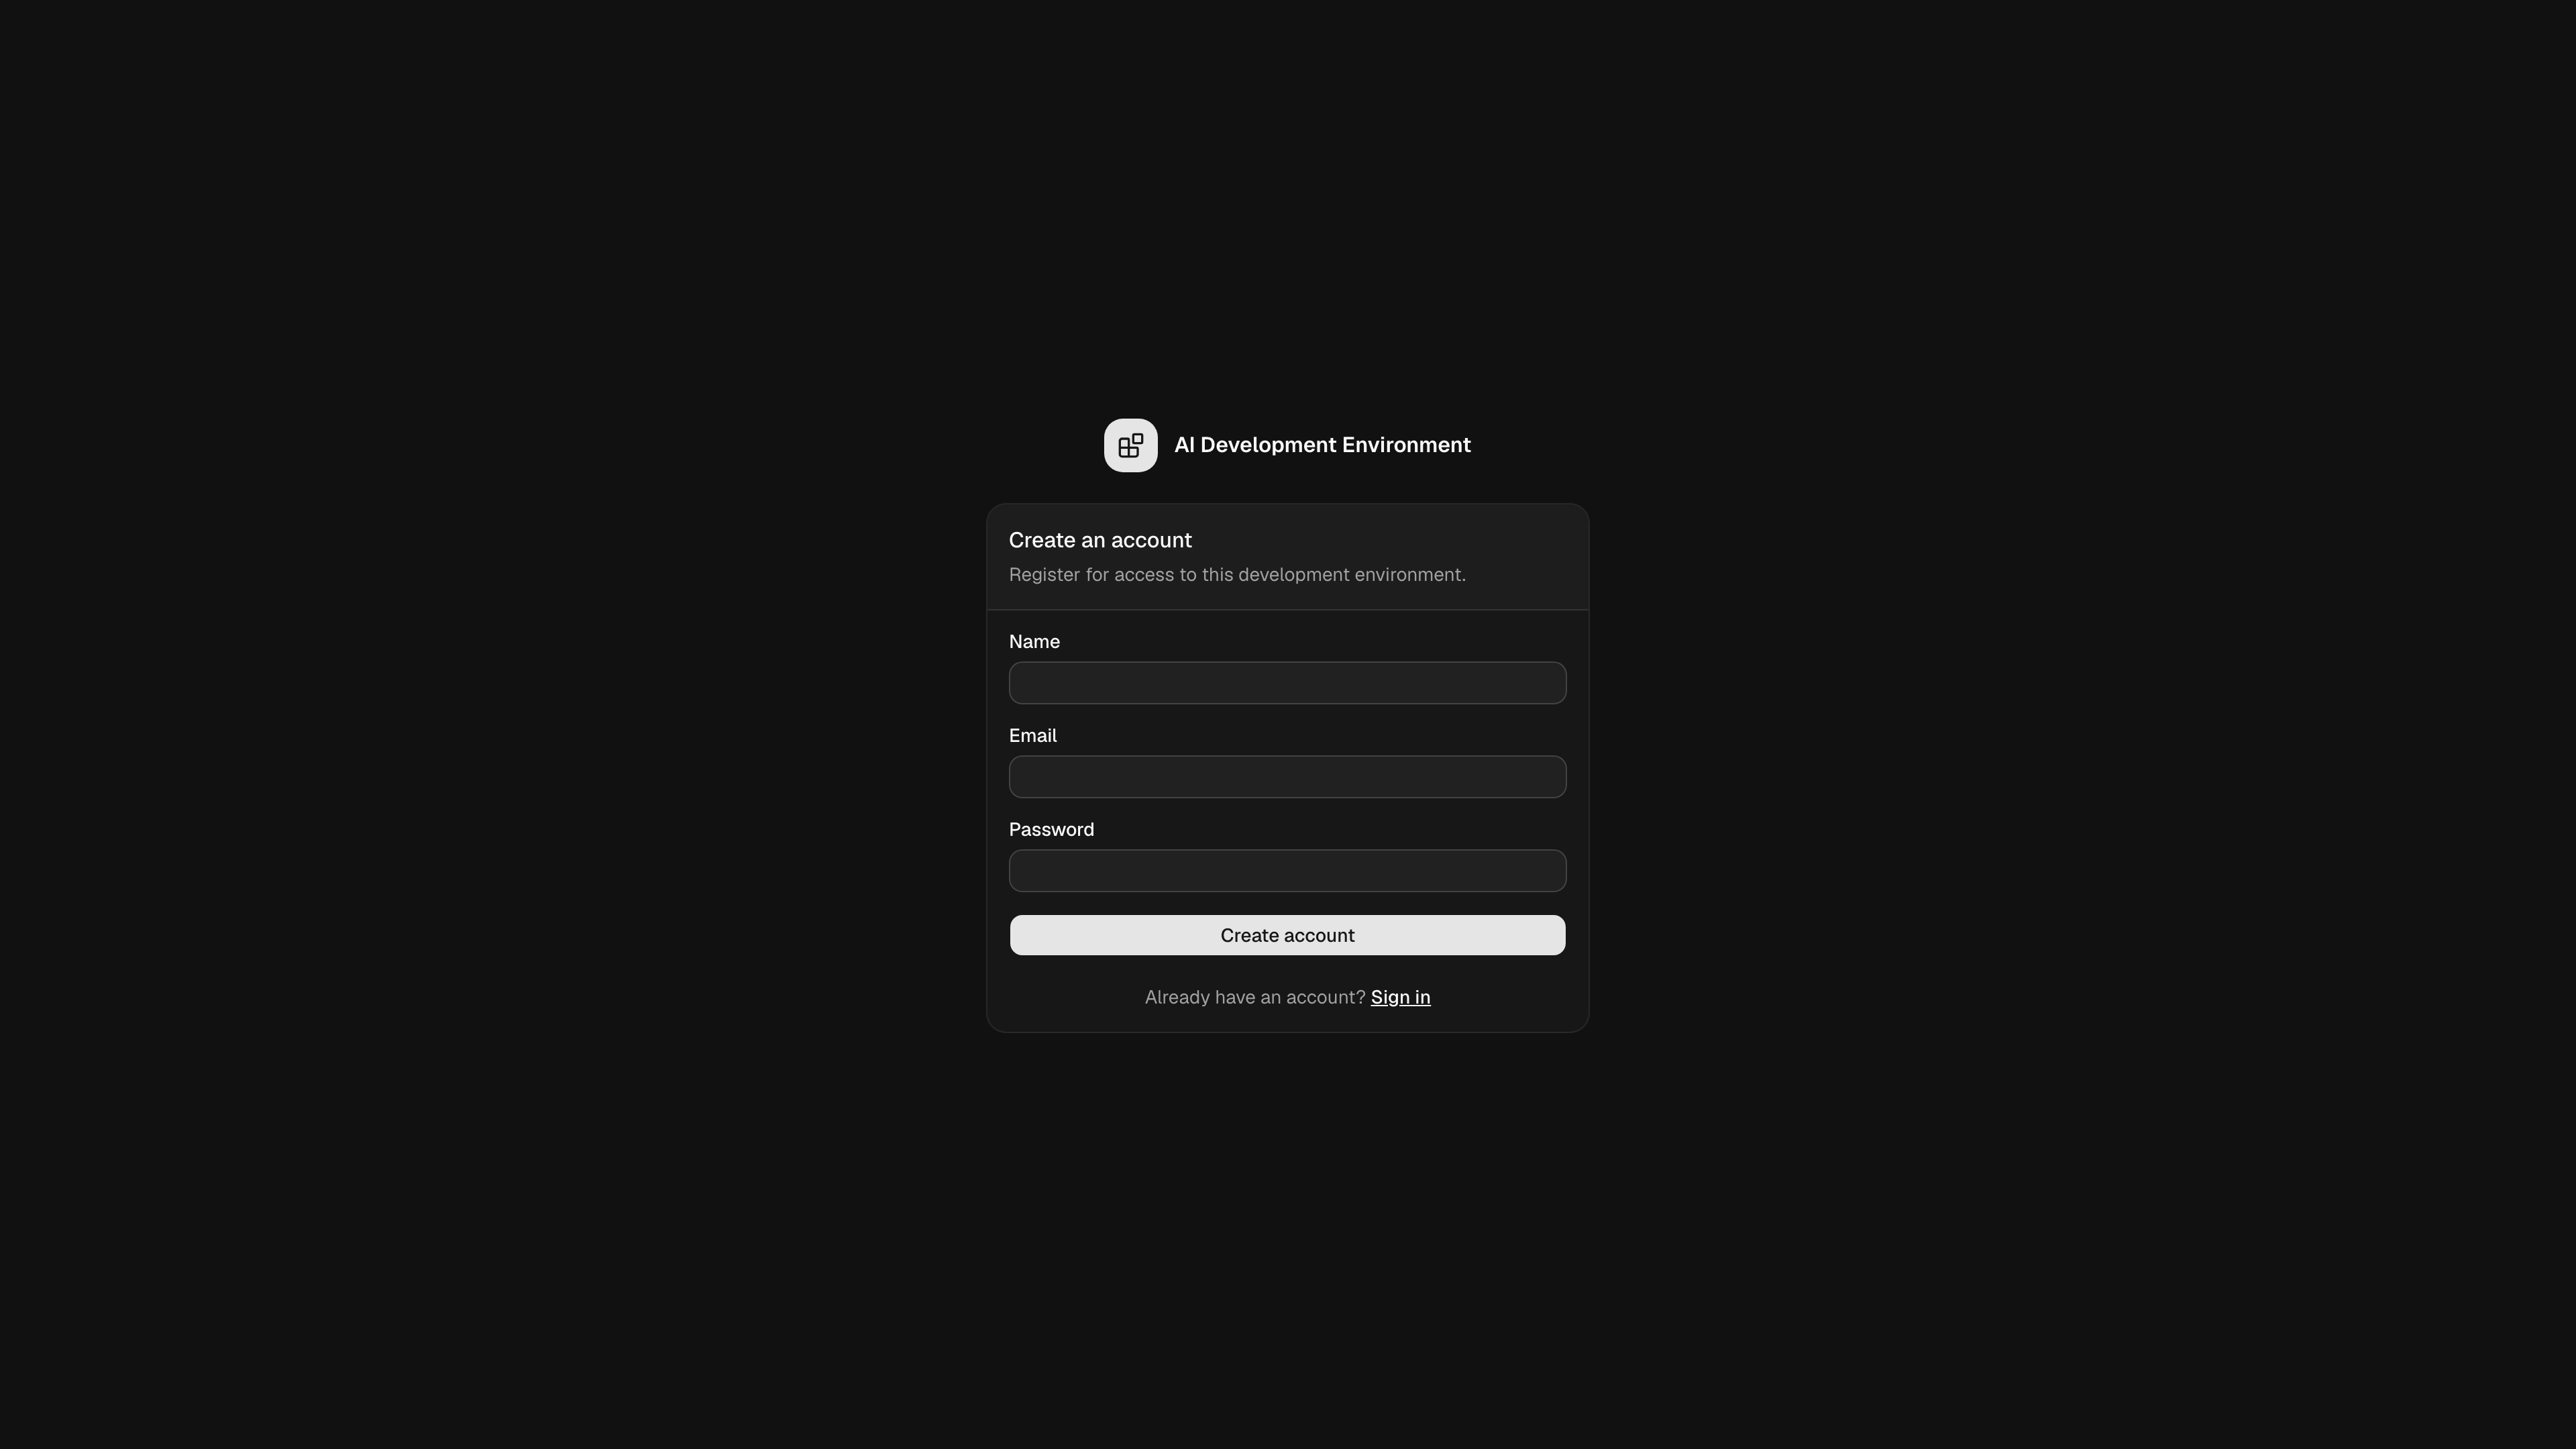 Every signed-in user has full application and user-management access. Open [Users](/system/users) later to create accounts or reopen registration. Open [API keys](/system/api-keys) to create `aide_` credentials for GraphQL and MCP clients.
## Enroll a control agent
The dashboard needs at least one enrolled agent before it can create worktrees, run commands, or start builds. Every agent connects outbound only and never exposes a listening port.
```bash theme={null}
brew install control-agent
```
The npm install in Option 2 already includes `@ai-development-environment/control-agent`, and `npm run dev:all` runs its own development agent, so you can skip this step in those cases. Docker users should follow the [container enrollment flow](/reference/docker#docker-compose).
Open the [Agents](/agents/agents) page and create an enrollment command. It builds a shell-safe command for you.
```bash theme={null}
control-agent enroll --server http://127.0.0.1:3090 --enrollment-token
```
Then start it as a service:
```bash theme={null}
brew services start control-agent
```
If your control plane sits behind Cloudflare Access, add each service-token header with a repeatable `--header "Name: value"` argument. The agent keeps those headers only in its owner-readable `0600` config and redacts them from `status`.
A machine that reaches the control plane at two addresses — a LAN address at the desk, a public one elsewhere — can hold both. Add `--remote-server https://control.example.com` and the agent prefers the local address, falling back to the remote one when the local address stops answering. See [Local and remote addresses](/agents/agents#local-and-remote-addresses).
```bash theme={null}
control-agent status
```
`control-agent enrollment` reports whether this machine is enrolled and whether each configured address answers for it, and `control-agent doctor` diagnoses a failing connection. The credential and stable agent ID live at `~/.config/control-agent/config.json`.
## Set up credential storage
Long-lived Jira, GitHub, cache-server, MCP, iOS signing, App Store Connect, and APNs credentials go through a server-only credential service. The service also stores the connection settings needed to use them, such as the Jira site URL, GitHub App ID, cache-server URL and headers, and Apple key identifiers. Choose a backend with `CREDENTIAL_STORAGE_TYPE`.
The default for npm, Linux, Docker, and source installs. Payloads are always encrypted with AES-256-GCM, using a key derived from `APP_SECRET`. There is nothing to configure and no plaintext mode.
Back up `APP_SECRET`. Stored credentials cannot be read without it. To replace it, set the old value as `APP_SECRET_PREVIOUS` so credentials are re-encrypted on the next start — see [Environment variables](/reference/environment-variables#rotating-app-secret).
The default for Homebrew installs, and macOS only. It uses the native login Keychain service `com.bludesign.ai-development-environment.credentials`.
```bash theme={null}
CREDENTIAL_STORAGE_TYPE="keychain"
```
Selecting it on Linux or in a container leaves the app running but reports an unsupported-backend error, and credential-dependent operations fail.
Uses HashiCorp Vault KV v2. `VAULT_ADDR` is required; `VAULT_TOKEN`, `VAULT_NAMESPACE`, `CREDENTIAL_VAULT_MOUNT` (default `secret`), `CREDENTIAL_VAULT_PATH_PREFIX` (default `ai-development-environment/credentials`), and `CREDENTIAL_VAULT_HEADERS` are optional.
```bash theme={null}
CREDENTIAL_STORAGE_TYPE="vault"
VAULT_ADDR="https://vault.example.com"
VAULT_TOKEN="hvs..."
```
A read-write install needs data read/write plus permanent metadata deletion. Grant `list` on metadata when this or another install must discover every item already under the prefix:
```hcl theme={null}
path "secret/data/ai-development-environment/credentials/*" {
capabilities = ["create", "read", "update"]
}
path "secret/metadata/ai-development-environment/credentials/*" {
capabilities = ["list", "delete"]
}
```
On startup, the server adopts existing items under the configured mount and prefix. It rebuilds the local metadata rows that point to those Vault payloads, so a fresh install can reuse the connection settings and secrets written by another install. The **Credentials** page reports how many items were adopted.
`list` is optional for credentials stored at fixed paths. Without it, startup still probes known Jira, GitHub, cache-server, signing, and Apple paths. Grant it to discover dynamically addressed external MCP header bundles and APNs certificate bundles.
Set `CREDENTIAL_VAULT_READ_ONLY=true` for an install that may use the shared credentials but must not change them. Credential-backed fields become read-only, and the server refuses writes and deletions before sending a Vault request. A read-only policy can use:
```hcl theme={null}
path "secret/data/ai-development-environment/credentials/*" {
capabilities = ["read"]
}
path "secret/metadata/ai-development-environment/credentials/*" {
capabilities = ["read", "list"]
}
```
The flag applies only to Vault. Database and Keychain backends ignore it and show a warning. A Vault token that denies a write produces the same read-only error even when the flag is unset.
Changing `CREDENTIAL_STORAGE_TYPE` does not migrate anything. Items belonging to the previous backend are reported as mismatched and must be re-entered through their own settings forms.
The upgrade that moves connection settings into the credential backend
intentionally does not copy their old database values. After upgrading from an
earlier release, re-enter the Jira site, account, and webhook settings; GitHub
App identifiers and webhook URL; cache-server URL and headers; App Store
Connect identifiers; and APNs token and certificate details. Existing secret
payloads remain in their current credential backend.
## Optional: public HTTPS
iOS device enrollment, over-the-air installs, and the GitHub webhook need a publicly trusted HTTPS origin. Set `PUBLIC_BASE_URL` to that origin, or run behind a reverse proxy that sends correct `X-Forwarded-Proto` and `X-Forwarded-Host` headers.
Behind Cloudflare Access, bypass only the application's documented auth and integration routes: localized sign-in/register pages, `/api/auth/*`, `/api/public/*`, `/api/openapi.json`, the two telemetry ingestion routes, and `/api/ios/apns-devices`. Keep `/api/graphql`, `/api/mcp`, Tools REST, first-party push registration, enrollment start/export, and dashboard routes behind Better Auth. Configure Access paths without query strings.
Exposing this server publicly exposes every route, not just build artifacts.
Keep the origin private and use the exact reverse-proxy allowlist.
[Hosting and networking](/reference/hosting) has the full path list, WAF guidance, and how client IPs are trusted.
## Next steps
The home screen: live work, pending decisions, failures, and builds ready to
run.
Branch from Git or a Jira ticket on any enrolled agent, then enable Auto
Sync.
Survey a codebase read-only, then promote the Plan to a Session.
Configure GitHub, Jira, Apple services, and development tools.
Every signed-in user has full application and user-management access. Open [Users](/system/users) later to create accounts or reopen registration. Open [API keys](/system/api-keys) to create `aide_` credentials for GraphQL and MCP clients.
## Enroll a control agent
The dashboard needs at least one enrolled agent before it can create worktrees, run commands, or start builds. Every agent connects outbound only and never exposes a listening port.
```bash theme={null}
brew install control-agent
```
The npm install in Option 2 already includes `@ai-development-environment/control-agent`, and `npm run dev:all` runs its own development agent, so you can skip this step in those cases. Docker users should follow the [container enrollment flow](/reference/docker#docker-compose).
Open the [Agents](/agents/agents) page and create an enrollment command. It builds a shell-safe command for you.
```bash theme={null}
control-agent enroll --server http://127.0.0.1:3090 --enrollment-token
```
Then start it as a service:
```bash theme={null}
brew services start control-agent
```
If your control plane sits behind Cloudflare Access, add each service-token header with a repeatable `--header "Name: value"` argument. The agent keeps those headers only in its owner-readable `0600` config and redacts them from `status`.
A machine that reaches the control plane at two addresses — a LAN address at the desk, a public one elsewhere — can hold both. Add `--remote-server https://control.example.com` and the agent prefers the local address, falling back to the remote one when the local address stops answering. See [Local and remote addresses](/agents/agents#local-and-remote-addresses).
```bash theme={null}
control-agent status
```
`control-agent enrollment` reports whether this machine is enrolled and whether each configured address answers for it, and `control-agent doctor` diagnoses a failing connection. The credential and stable agent ID live at `~/.config/control-agent/config.json`.
## Set up credential storage
Long-lived Jira, GitHub, cache-server, MCP, iOS signing, App Store Connect, and APNs credentials go through a server-only credential service. The service also stores the connection settings needed to use them, such as the Jira site URL, GitHub App ID, cache-server URL and headers, and Apple key identifiers. Choose a backend with `CREDENTIAL_STORAGE_TYPE`.
The default for npm, Linux, Docker, and source installs. Payloads are always encrypted with AES-256-GCM, using a key derived from `APP_SECRET`. There is nothing to configure and no plaintext mode.
Back up `APP_SECRET`. Stored credentials cannot be read without it. To replace it, set the old value as `APP_SECRET_PREVIOUS` so credentials are re-encrypted on the next start — see [Environment variables](/reference/environment-variables#rotating-app-secret).
The default for Homebrew installs, and macOS only. It uses the native login Keychain service `com.bludesign.ai-development-environment.credentials`.
```bash theme={null}
CREDENTIAL_STORAGE_TYPE="keychain"
```
Selecting it on Linux or in a container leaves the app running but reports an unsupported-backend error, and credential-dependent operations fail.
Uses HashiCorp Vault KV v2. `VAULT_ADDR` is required; `VAULT_TOKEN`, `VAULT_NAMESPACE`, `CREDENTIAL_VAULT_MOUNT` (default `secret`), `CREDENTIAL_VAULT_PATH_PREFIX` (default `ai-development-environment/credentials`), and `CREDENTIAL_VAULT_HEADERS` are optional.
```bash theme={null}
CREDENTIAL_STORAGE_TYPE="vault"
VAULT_ADDR="https://vault.example.com"
VAULT_TOKEN="hvs..."
```
A read-write install needs data read/write plus permanent metadata deletion. Grant `list` on metadata when this or another install must discover every item already under the prefix:
```hcl theme={null}
path "secret/data/ai-development-environment/credentials/*" {
capabilities = ["create", "read", "update"]
}
path "secret/metadata/ai-development-environment/credentials/*" {
capabilities = ["list", "delete"]
}
```
On startup, the server adopts existing items under the configured mount and prefix. It rebuilds the local metadata rows that point to those Vault payloads, so a fresh install can reuse the connection settings and secrets written by another install. The **Credentials** page reports how many items were adopted.
`list` is optional for credentials stored at fixed paths. Without it, startup still probes known Jira, GitHub, cache-server, signing, and Apple paths. Grant it to discover dynamically addressed external MCP header bundles and APNs certificate bundles.
Set `CREDENTIAL_VAULT_READ_ONLY=true` for an install that may use the shared credentials but must not change them. Credential-backed fields become read-only, and the server refuses writes and deletions before sending a Vault request. A read-only policy can use:
```hcl theme={null}
path "secret/data/ai-development-environment/credentials/*" {
capabilities = ["read"]
}
path "secret/metadata/ai-development-environment/credentials/*" {
capabilities = ["read", "list"]
}
```
The flag applies only to Vault. Database and Keychain backends ignore it and show a warning. A Vault token that denies a write produces the same read-only error even when the flag is unset.
Changing `CREDENTIAL_STORAGE_TYPE` does not migrate anything. Items belonging to the previous backend are reported as mismatched and must be re-entered through their own settings forms.
The upgrade that moves connection settings into the credential backend
intentionally does not copy their old database values. After upgrading from an
earlier release, re-enter the Jira site, account, and webhook settings; GitHub
App identifiers and webhook URL; cache-server URL and headers; App Store
Connect identifiers; and APNs token and certificate details. Existing secret
payloads remain in their current credential backend.
## Optional: public HTTPS
iOS device enrollment, over-the-air installs, and the GitHub webhook need a publicly trusted HTTPS origin. Set `PUBLIC_BASE_URL` to that origin, or run behind a reverse proxy that sends correct `X-Forwarded-Proto` and `X-Forwarded-Host` headers.
Behind Cloudflare Access, bypass only the application's documented auth and integration routes: localized sign-in/register pages, `/api/auth/*`, `/api/public/*`, `/api/openapi.json`, the two telemetry ingestion routes, and `/api/ios/apns-devices`. Keep `/api/graphql`, `/api/mcp`, Tools REST, first-party push registration, enrollment start/export, and dashboard routes behind Better Auth. Configure Access paths without query strings.
Exposing this server publicly exposes every route, not just build artifacts.
Keep the origin private and use the exact reverse-proxy allowlist.
[Hosting and networking](/reference/hosting) has the full path list, WAF guidance, and how client IPs are trusted.
## Next steps
The home screen: live work, pending decisions, failures, and builds ready to
run.
Branch from Git or a Jira ticket on any enrolled agent, then enable Auto
Sync.
Survey a codebase read-only, then promote the Plan to a Session.
Configure GitHub, Jira, Apple services, and development tools.