> ## Documentation Index
> Fetch the complete documentation index at: https://ai-development-environment.mintlify.site/llms.txt
> Use this file to discover all available pages before exploring further.
# New workflow
> Create a new durable automation from a blank canvas.
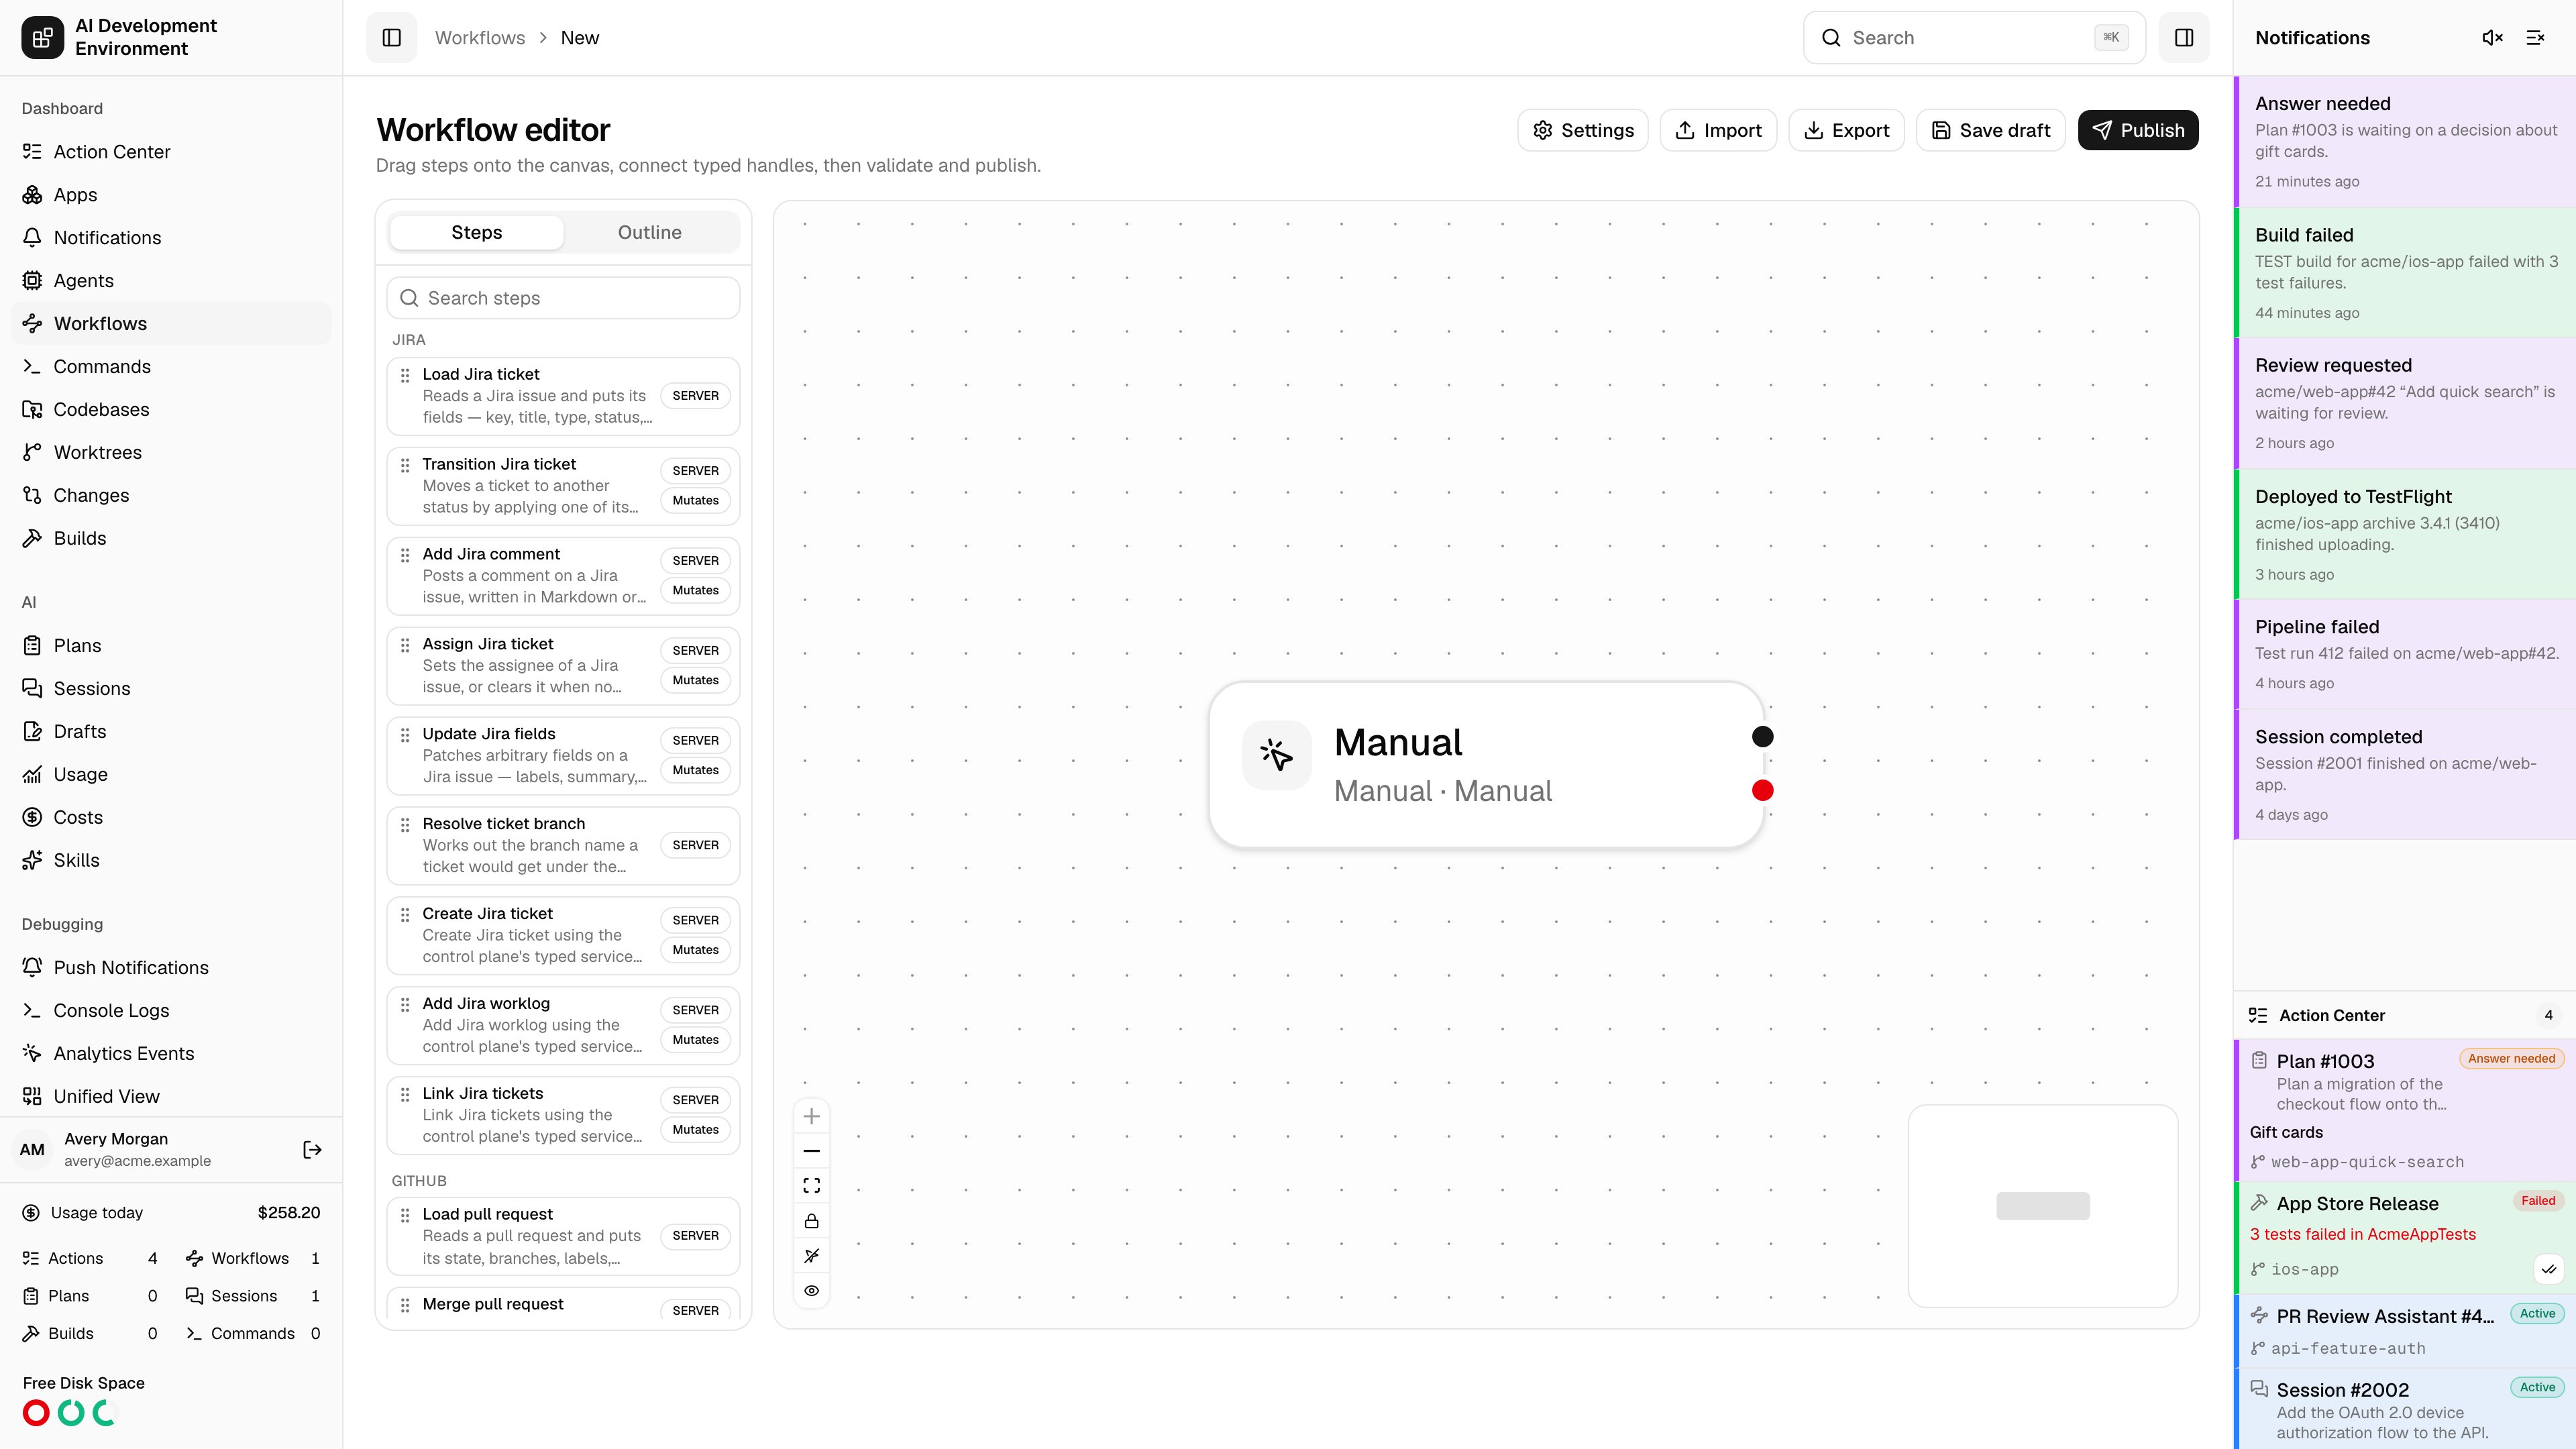
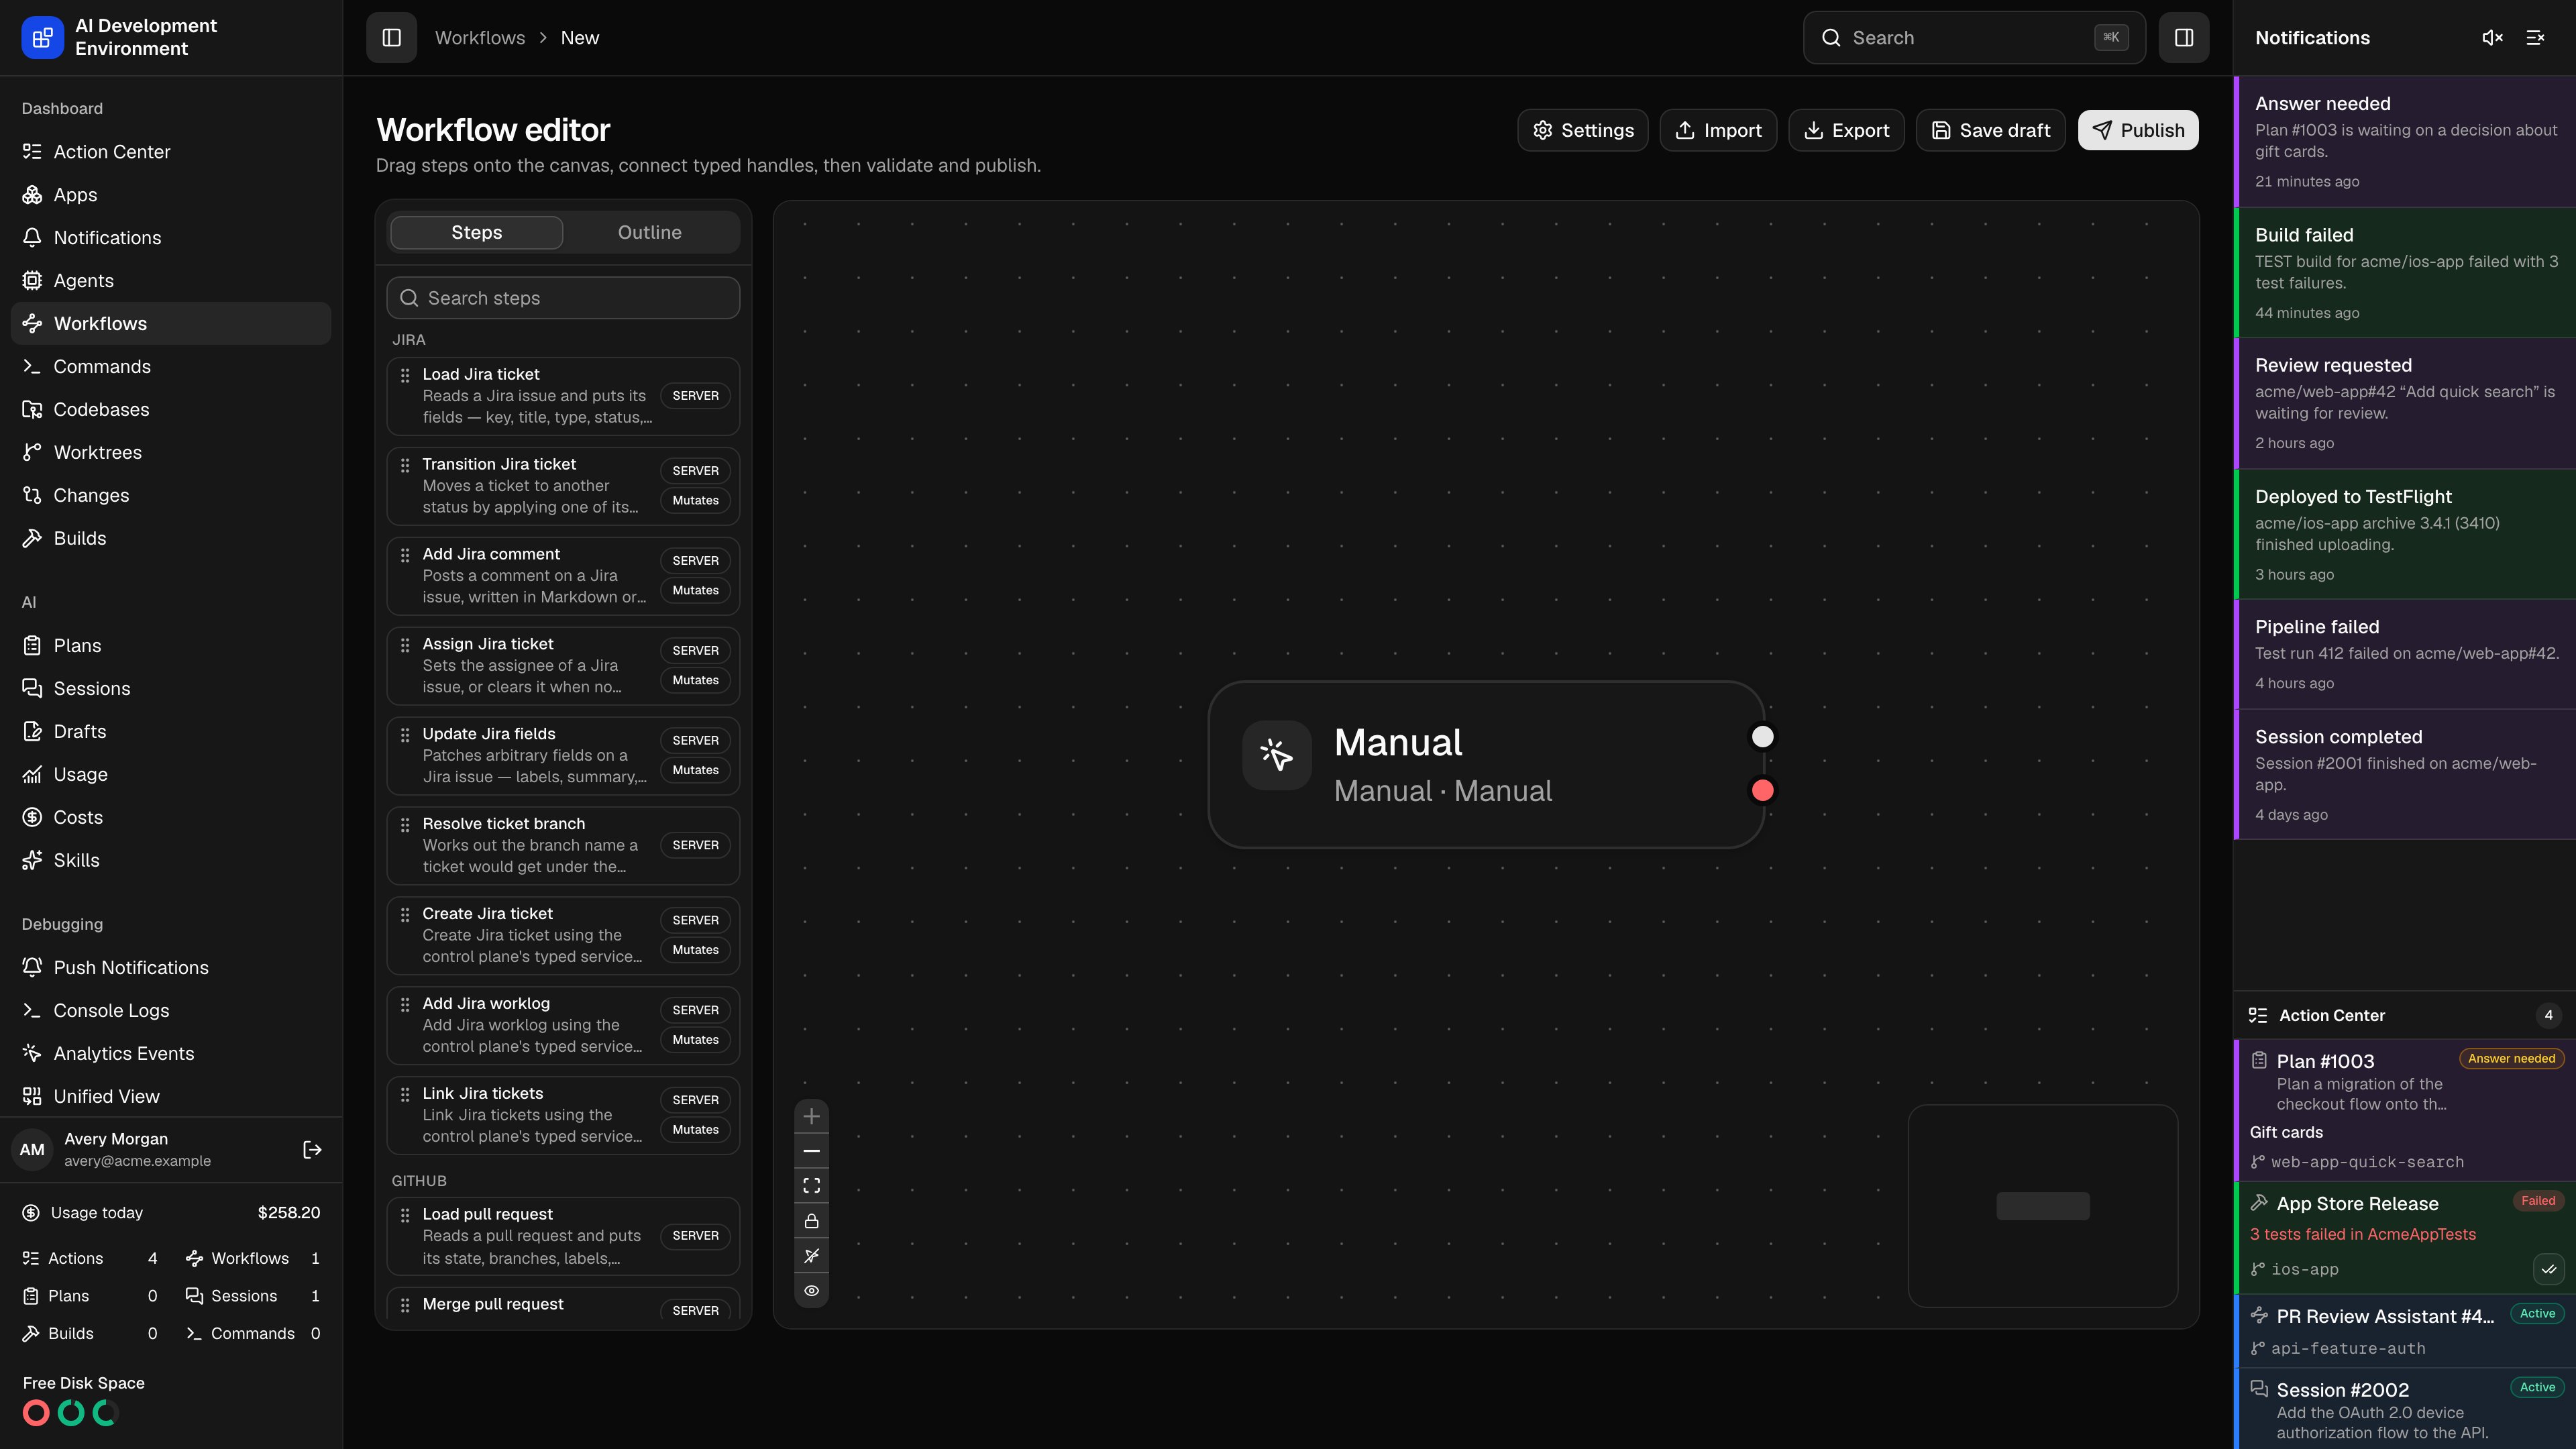 The new workflow page at `/workflows/new` opens the [workflow editor](/workflows/workflow-edit) on an empty canvas. It is the same editor you get when editing an existing workflow — this page just starts you from nothing.
## Building your first workflow
Open **Workflow settings** and give the workflow a name and description. Both show up wherever the workflow is listed or offered as a button. Its **Running** section also controls overlap, the [scope](/workflows/workflow-edit#overlap-scope) that overlap is measured in, worktree admission, and whether command-like steps block Git operations.
Drag exactly one trigger onto the canvas. Start with **Manual** if you just want to run it by hand, or a **Resource** trigger if it should be launched from a worktree, pull request, or ticket page.
Drag steps from the palette and connect each one's handles. Most steps offer `success` and `failure`; control-flow steps name their own branches.
Fill in the typed configuration form. Bind values to session data where a step should read something an earlier step produced, rather than hard-coding it.
**Validate** checks the whole graph and reports diagnostics against the specific nodes and edges at fault.
**Save draft** keeps your work. **Publish** creates the first immutable version — until then the workflow has nothing to run.
## What a valid workflow needs
* Exactly one trigger, with no incoming connection.
* At least one step reachable from that trigger.
* An acyclic graph with no unreachable steps.
* Parallel branches reconverged through an explicit join.
* Every step's required session paths provided by something upstream.
* No secrets typed as literals.
Import is often faster than starting blank. On the [Workflows](/workflows/workflows) page, **Import** loads an exported definition as a draft — a good way to adapt a workflow from another control plane.
A new workflow is a draft until you publish it, and its triggers do not fire until it is also enabled.
## Related pages
The full reference for the canvas, step configuration, settings, and diagnostics.
The index of definitions and runs, plus import and export.
The new workflow page at `/workflows/new` opens the [workflow editor](/workflows/workflow-edit) on an empty canvas. It is the same editor you get when editing an existing workflow — this page just starts you from nothing.
## Building your first workflow
Open **Workflow settings** and give the workflow a name and description. Both show up wherever the workflow is listed or offered as a button. Its **Running** section also controls overlap, the [scope](/workflows/workflow-edit#overlap-scope) that overlap is measured in, worktree admission, and whether command-like steps block Git operations.
Drag exactly one trigger onto the canvas. Start with **Manual** if you just want to run it by hand, or a **Resource** trigger if it should be launched from a worktree, pull request, or ticket page.
Drag steps from the palette and connect each one's handles. Most steps offer `success` and `failure`; control-flow steps name their own branches.
Fill in the typed configuration form. Bind values to session data where a step should read something an earlier step produced, rather than hard-coding it.
**Validate** checks the whole graph and reports diagnostics against the specific nodes and edges at fault.
**Save draft** keeps your work. **Publish** creates the first immutable version — until then the workflow has nothing to run.
## What a valid workflow needs
* Exactly one trigger, with no incoming connection.
* At least one step reachable from that trigger.
* An acyclic graph with no unreachable steps.
* Parallel branches reconverged through an explicit join.
* Every step's required session paths provided by something upstream.
* No secrets typed as literals.
Import is often faster than starting blank. On the [Workflows](/workflows/workflows) page, **Import** loads an exported definition as a draft — a good way to adapt a workflow from another control plane.
A new workflow is a draft until you publish it, and its triggers do not fire until it is also enabled.
## Related pages
The full reference for the canvas, step configuration, settings, and diagnostics.
The index of definitions and runs, plus import and export.