

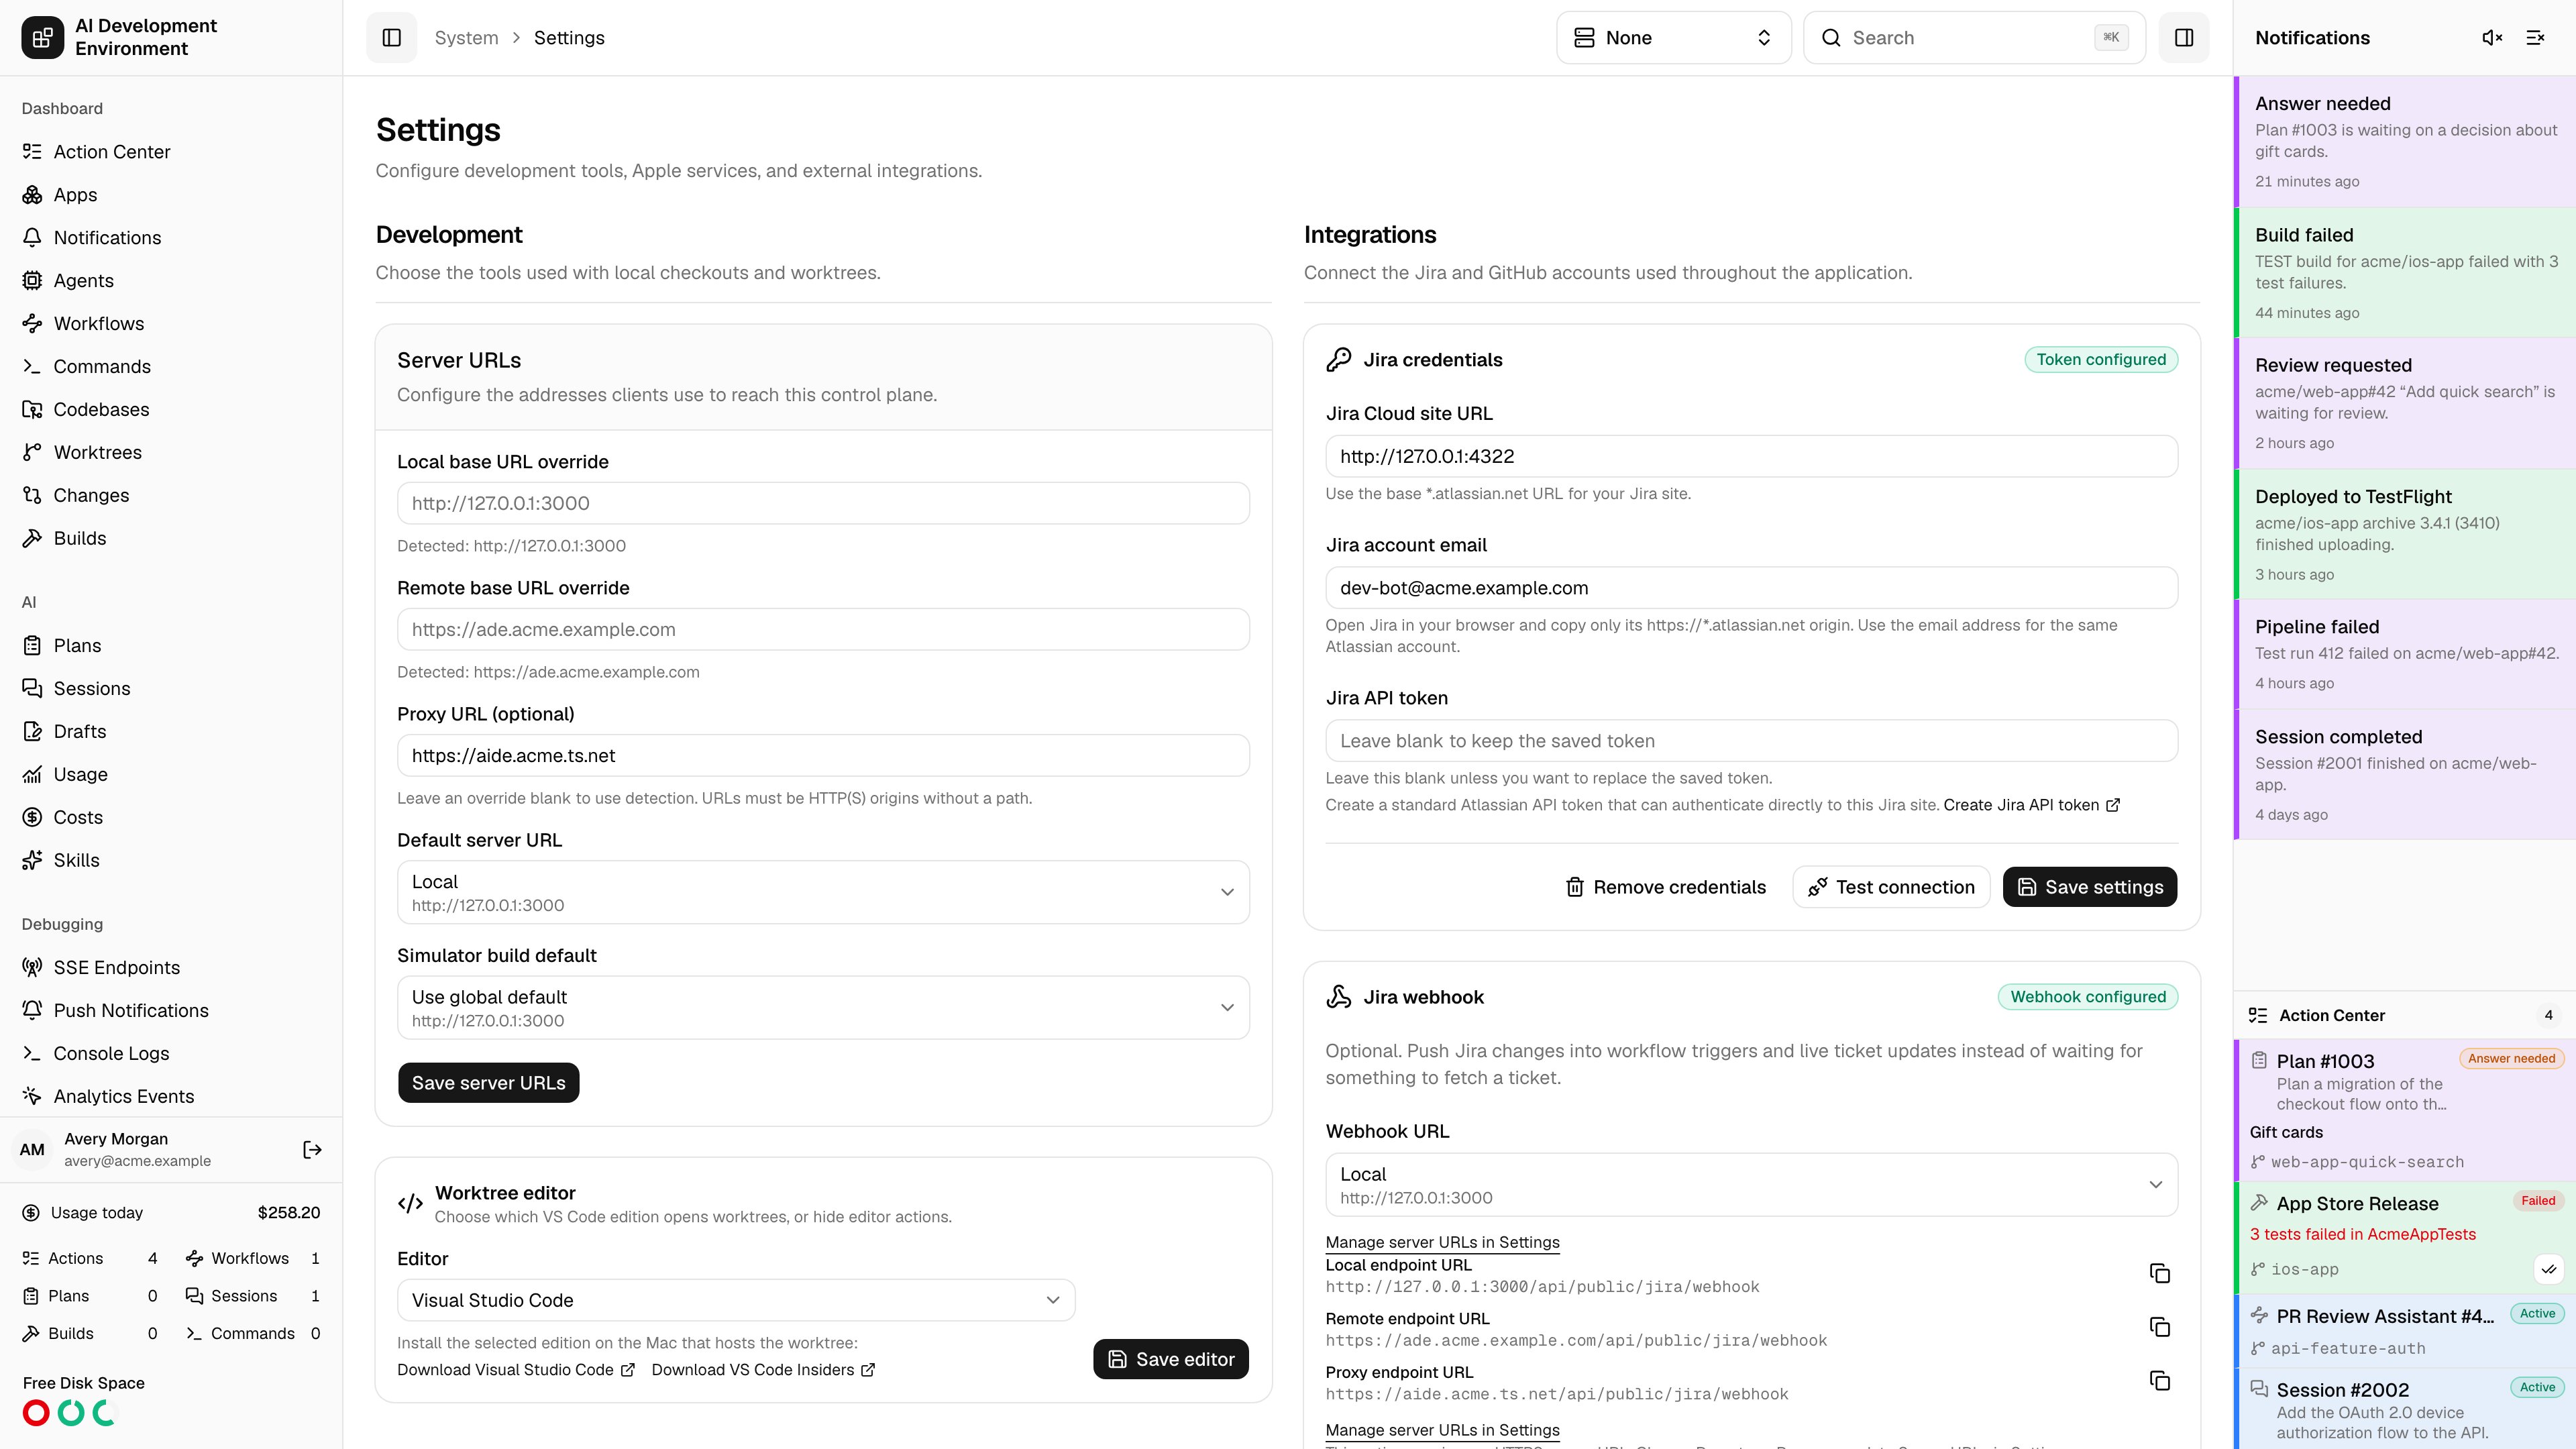
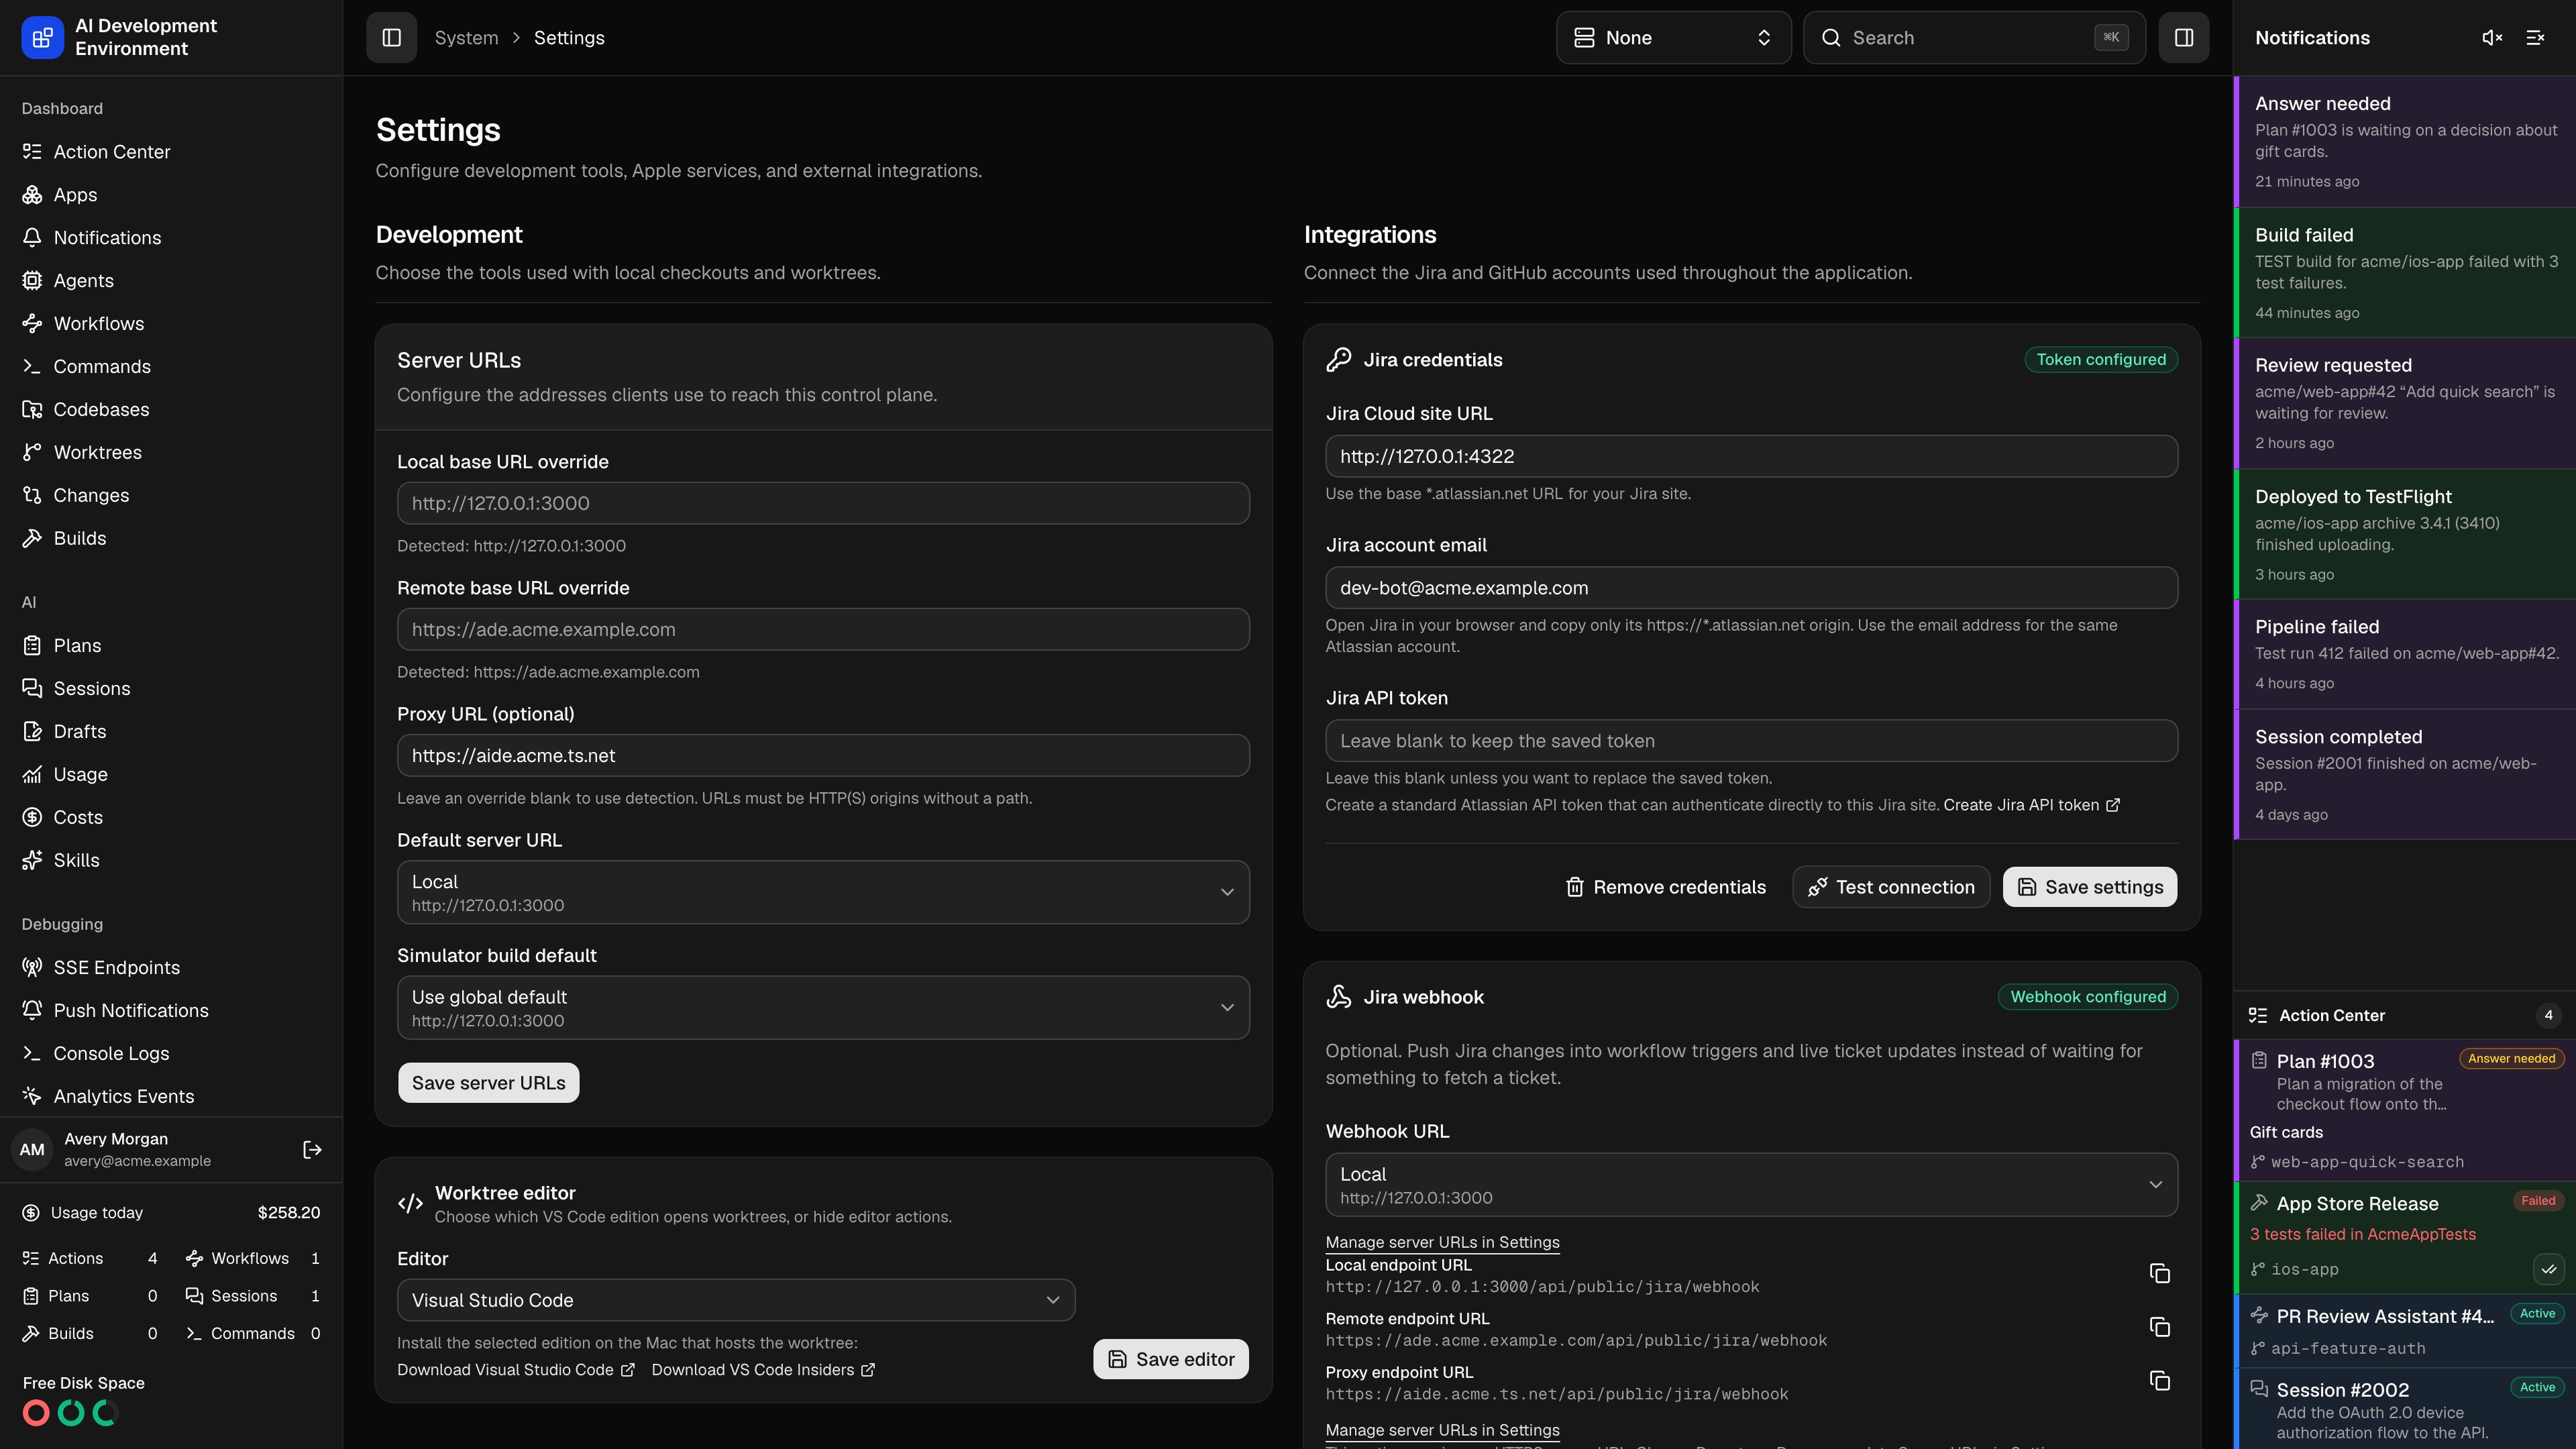
/system/settings is where the app is connected to everything outside itself: the editor it opens worktrees in, the Apple services it signs and pushes with, and the Jira, GitHub, GitLab, and cache accounts it reads from.
Every credential-backed value entered here is written through the server-only credential service. That includes secrets and the connection settings required to use them, such as service URLs and public key identifiers. Secret values are stored server-side and never returned to the browser. The Credentials page shows metadata for every stored item without exposing its payload.
When CREDENTIAL_VAULT_READ_ONLY=true, credential-backed fields and destructive credential actions are disabled. You can still use existing credentials, run available connection tests, and edit settings that remain in the application database, such as polling intervals.
The page is organized into three groups.
Development
Server URLs
Server URLs is the single place to configure the control plane’s client-facing addresses. Endpoint help, enrollment commands, MCP configurations, webhooks, and artifact links use these settings in both the web and iOS apps.
Enter an HTTP(S) origin only, for example
http://192.168.1.20:3000 or https://aide.example.com. Trailing slashes are removed. Paths, credentials, query strings, and fragments are rejected. Clear an override to resume detection. A Proxy default requires a configured Proxy URL; removing it requires choosing another default in the same save.
Endpoint screens display Local, Remote, and configured Proxy with copy actions and a Manage server URLs link. Selectors show the name and address on separate lines. HTTPS and host restrictions still apply to enrollment, OTA installation, and webhook registration; choosing Local does not bypass them.
Existing Local and Remote overrides move from observability settings into these shared settings during the database migration. Deprecated telemetry GraphQL override fields continue to read and write the shared values. New clients use serverUrlSettings, saveServerUrlSettings, and serverUrlSettingsChanged, or MCP get_server_url_settings and update_server_url_settings.
In the iOS app, Settings → Server URLs edits these same server-side values. Server Connection still chooses the control plane the native app itself connects to. Updating Server URLs does not switch that connection. See Tailscale Serve for a Proxy example.
Worktree editor
Choose which editor the Open in editor actions launch: Visual Studio Code, Visual Studio Code - Insiders, or None, which hides the editor buttons entirely. The chosen edition has to be installed on the machine that hosts the worktree, not on the machine running your browser — the action runs on the agent.Apple services
iOS device enrollment
Two independent halves: the profile signer that makes enrollment work at all, and the App Store Connect key that makes Apple registration possible. Enrollment profile controls what a tester sees when installing the profile:
The card reports Signer ready or Signer not generated, with the certificate’s creation and expiry dates. Because the certificate is self-signed, iOS shows the profile as Unverified — the organization name is what a tester should be checking.
App Store Connect Devices API enables registering enrolled devices with Apple:
Create a Team API key
In App Store Connect, go to Users and Access → Integrations and create a
Team API key with Certificates, Identifiers & Profiles access.
Copy the identifiers and download the key
Copy the Issuer ID and Key ID, then download the
.p8 file. Apple offers it
exactly once — retain it.Save and verify
Paste, drop, or choose the
.p8. Only ES256 PKCS#8 keys are accepted.
Save and verify tests the credentials against Apple before storing them.Push notifications
Both APNs authentication mechanisms are supported, and they can coexist. Token authentication (.p8) is the recommended path for apps, Live Activities, and VoIP. Provide the Team ID from your Apple Developer membership details, the Key ID, and the.p8 from a key created with APNs enabled. Dropping a new .p8 rotates the key.
The token key does double duty. Besides the push notification
console, it is what lets the control plane
deliver its own alerts to the iOS app over the native notification
channel. Until it is saved, that channel
reports itself as unconfigured.
Each certificate shows its expiry and last test time and can be retested individually.
Integrations
Jira
Connect the Jira Cloud account used for tickets, boards, and workflow triggers.
Test connection verifies the credentials without saving. Remove credentials deletes the email and token and clears cached Jira data.
Jira webhook
Once Jira credentials are saved, a Jira webhook card appears. The webhook is optional: it pushes Jira changes into workflow triggers and live ticket updates instead of waiting for something to fetch a ticket.
The card shows the time and outcome of the most recent delivery and links to Jira Webhooks for the full log and the manual setup steps.
GitLab credentials
Connect GitLab.com or one self-hosted GitLab 19.2+ instance. Enter the HTTPS instance root and a personal, project, or group access token with theapi scope. Saving verifies both the current user and server version.
The instance root may include a relative installation path such as https://code.example.com/gitlab. It must not include credentials, /api/v4, a query, or a fragment. Private network hosts are allowed. Private certificate authorities are configured for the server process with NODE_EXTRA_CA_CERTS; there is no insecure TLS setting.
After verification, go to GitLab → Merge Requests → Manage GitLab projects to change discovery and merge defaults, add managed projects, and configure their hooks. The native app exposes the same controls from its Manage Projects toolbar action. A Maintainer or Owner token can create the signed project hook automatically. Lower-permission tokens receive a manual callback URL, event checklist, and one-time signing token while the rest of the integration remains usable.
GitLab preferences are stored separately from the credentials. Saving them does not verify the provider connection, and clearing credentials preserves them.
See Set up GitLab for the complete flow.
GitHub credentials
A personal access token for pull requests, review threads, and workflow-run details. Use a fine-grained token limited to the repositories used here, granting Actions: read, Checks: read, Pull requests: read and write, and Contents: read and write for merging. Email addresses: read is optional and only affects commit-email choices. Actions notification and Auto Retry interval sets the polling cadence in seconds, from 30 to 3600. It drives Auto Retry polling always, and notification polling only when a signed GitHub App webhook is unavailable — the current mode is visible on the Polling page. Removing GitHub credentials keeps managed repositories and Jira regex settings.GitHub App pipeline retries
Rerunning GitHub Actions workflows needs more than a personal token, so this card connects your own GitHub App.Register a GitHub App
Give it a unique name. Use this deployment’s URL as the Homepage URL and
leave the callback URL empty.
Set permissions
Repository permissions → Actions must be Read and write. For
enhanced live updates, also grant Checks and Commit statuses read
access.
Enable webhooks
Enable webhooks and select the Workflow run event. Saving here generates
the secret and configures the URL through GitHub for you.
Install it narrowly
Create the app, generate a private key, then install it on only the
repositories this deployment should control.
Copy the identifiers
The App ID is on the app’s settings page. The installation ID is the
final number in the URL of the app’s Configure page. Paste both here along
with the downloaded PEM.
- Webhook needs setup — credentials verified, but GitHub reports webhooks are not enabled. Enable them, select Workflow run, and save again.
- Webhook unavailable — this deployment has no public HTTPS origin. Personal-token polling keeps working; live delivery does not.
Actions Cache Server
Connect a GitHub Actions Cache Server to manage its entries from the Actions Cache page.
Removing these settings hides the Actions Cache page until it is reconfigured.
Notes
- Credential-backed settings are stored server-side. Secret values are never returned to the browser.
- Saving GitHub, GitHub App, GitLab, Jira, App Store Connect, and cache-server credentials verifies the connection before it is used, so a bad value fails at save time rather than at first use.
- Every secret field follows the same convention: leave it blank to keep the stored value, enter a new value to replace it.
- A read-only Vault disables credential-backed inputs and removals. Update shared values from a read-write install.
- Registering the Jira webhook needs the Administer Jira global permission on the account that owns the API token. Without it, Jira answers
403and the card falls back to the manual steps.
Related pages
Credentials
Where everything saved here is stored, and how well it is protected.
Jira Webhooks
The delivery log for the webhook configured on this page.